One of the most common questions homeowners ask is, “How long will my project take?”
At Cliff Joyner Construction, we understand that timing matters. Whether you are planning a home addition, renovation, or custom build, it helps to know what happens first, what comes next, and where delays can occur.
While every project is different, most residential construction projects follow the same general path: consultation, design, engineering, permitting, construction, finishes, and final walkthrough. Weather, material availability, inspections, site conditions, and permitting timelines can all affect the schedule, but a clear process helps keep the project moving forward.
Below is a simplified overview of what a typical construction project timeline looks like for a home addition.
Month 1: Consultation, Estimate & Design Deposit
A well-executed construction project timeline starts with clear communication. During the initial consultation, we walk through the space, discuss your goals, and outline the project scope.
- A preliminary estimate and simple layout are prepared within about 10 days.
- We meet again to review and adjust as needed.
After reviewing the estimate together, we make any needed adjustments. Once the direction is approved, a drawing deposit is collected and the project officially moves into the design phase.
Month 2: Construction Drawings and Contract
The next phase of the construction project timeline involves drafting and pricing:
- Cliff creates detailed construction drawings.
- We send the plans to trusted subcontractors for bids.
- Once pricing is confirmed, we finalize a fixed price contract with allowances for customizable items.
This phase typically takes 2–3 weeks, depending on response times.
Around Week 8: Engineering and Permit Submission
We prepare a full permit package for submission to the Pikes Peak Regional Building Department (PPRBD)—a vital step in any construction project timeline. The package includes:
- Structural engineering: framing, trusses, and foundation plans
- Plumbing, electrical, and HVAC details
- Site plans
- HOA coordination, if required
Permitting review often takes 2 to 4 weeks after submission, depending on the project and the reviewing agencies.
Month 4: Redlines and Revisions
After the plans are submitted, PPRBD may return comments or requested corrections, often called redlines.
This is a normal part of the construction process. Cliff and the engineering team review the comments, make the required revisions, and resubmit the updated documents for approval.
This back-and-forth process usually takes 1 to 2 weeks, though timing can vary depending on the scope of the comments and agency review times.
Around Week 16: Foundation Work Begins
Once permits are approved, construction can begin.
The foundation stage may include:
- Excavation
- Open-hole inspection
- Footings
- Foundation walls
- Drain tile
- Foundation insulation
- Backfill
This phase typically takes 2 to 4 weeks, depending on weather, soil conditions, access, and site complexity.
Around Week 20: Framing and Siding
This is when the project really begins to take shape.
The framing crew builds the floor system, walls, and roof structure. Once framing is complete, windows, exterior doors, and siding are installed to enclose the new space.
When the structure is protected from the weather, it is considered dried in and ready for the next phase of interior work.
This stage typically takes about 2 weeks, depending on the size and complexity of the project.
Month 6: Roofing and Rough-Ins
With the structure enclosed, the project moves into the mechanical phase.
Roofing is completed and inspected to help protect the home from the elements. Inside, the major systems are installed, including:
- HVAC ductwork
- Electrical wiring
- Plumbing lines
- Other rough-in components
Each system must pass the required rough inspections. A framing inspection is also completed to confirm the structural work before insulation and drywall begin.
This phase usually takes about 4 weeks.
Month 7: Insulation, Drywall, Trim, and Paint
At this point, the interior starts to feel more like finished living space.
This phase includes:
- Insulation installation and inspection
- Drywall hanging
- Taping, texturing, and priming
- Interior doors and trim
- Interior painting
This stage typically takes 2 to 4 weeks, depending on the size of the space and the level of finish detail.
Around Week 30: Interior Finishes and Final Details
The final stretch involves:
- Tile work, cabinetry, and flooring installation
- Final plumbing and electrical fixtures
- Patios, landings, and other exterior finishes
- Hardware, mirrors, and other small finish items
This detailed finish phase in the construction project timeline typically takes 4 to 5 weeks.
Around Week 35: Final Inspection and Punch List
With work nearly complete, we:
- Schedule the final inspection with PPRBD.
- Complete any remaining “punch list” items, such as paint touch-ups or hardware adjustments.
By the end of Week 35, the home is move-in ready—marking the close of the construction project timeline.
Final Thoughts on Your Construction Project Timeline
For a typical home addition, the full process often takes around 9 months from the first consultation to final walkthrough.
In many cases, the actual construction portion takes about 5 to 6 months, while the first 3 to 4 months are devoted to planning, design, engineering, permitting, and approvals.
Our goal is to guide you through the project with professionalism, communication, and craftsmanship from the first conversation to the final walkthrough.
At Cliff Joyner Construction, we bring more than 40 years of experience in homes, additions, and renovations, along with a clear process to help homeowners understand what to expect at each stage.
Need Ideas?
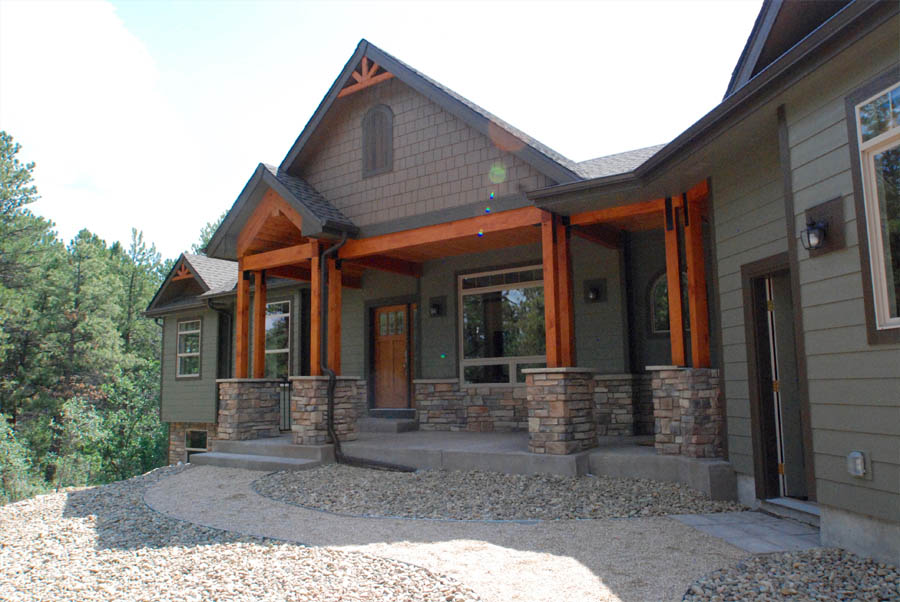
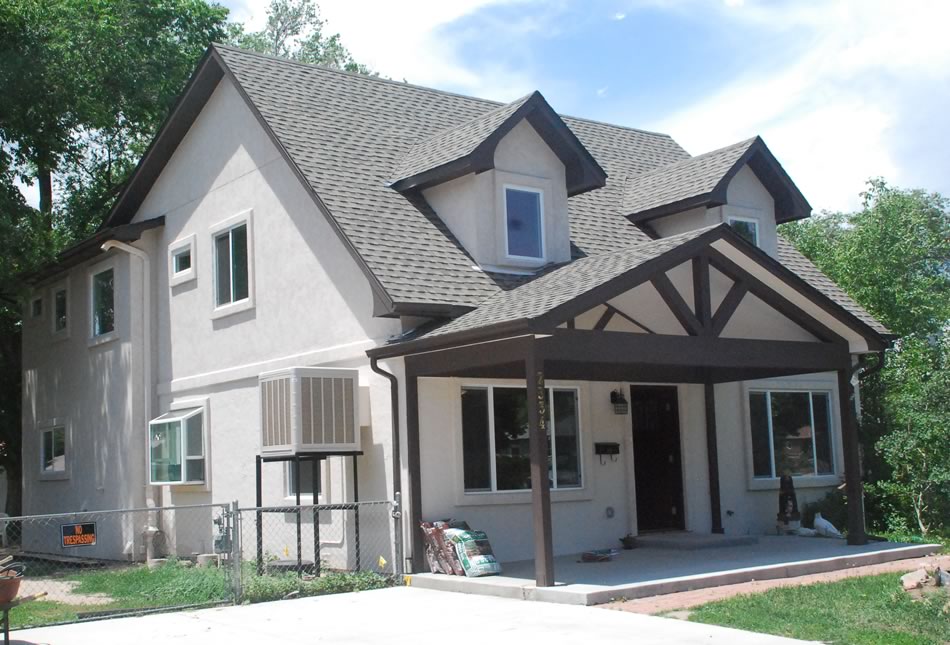
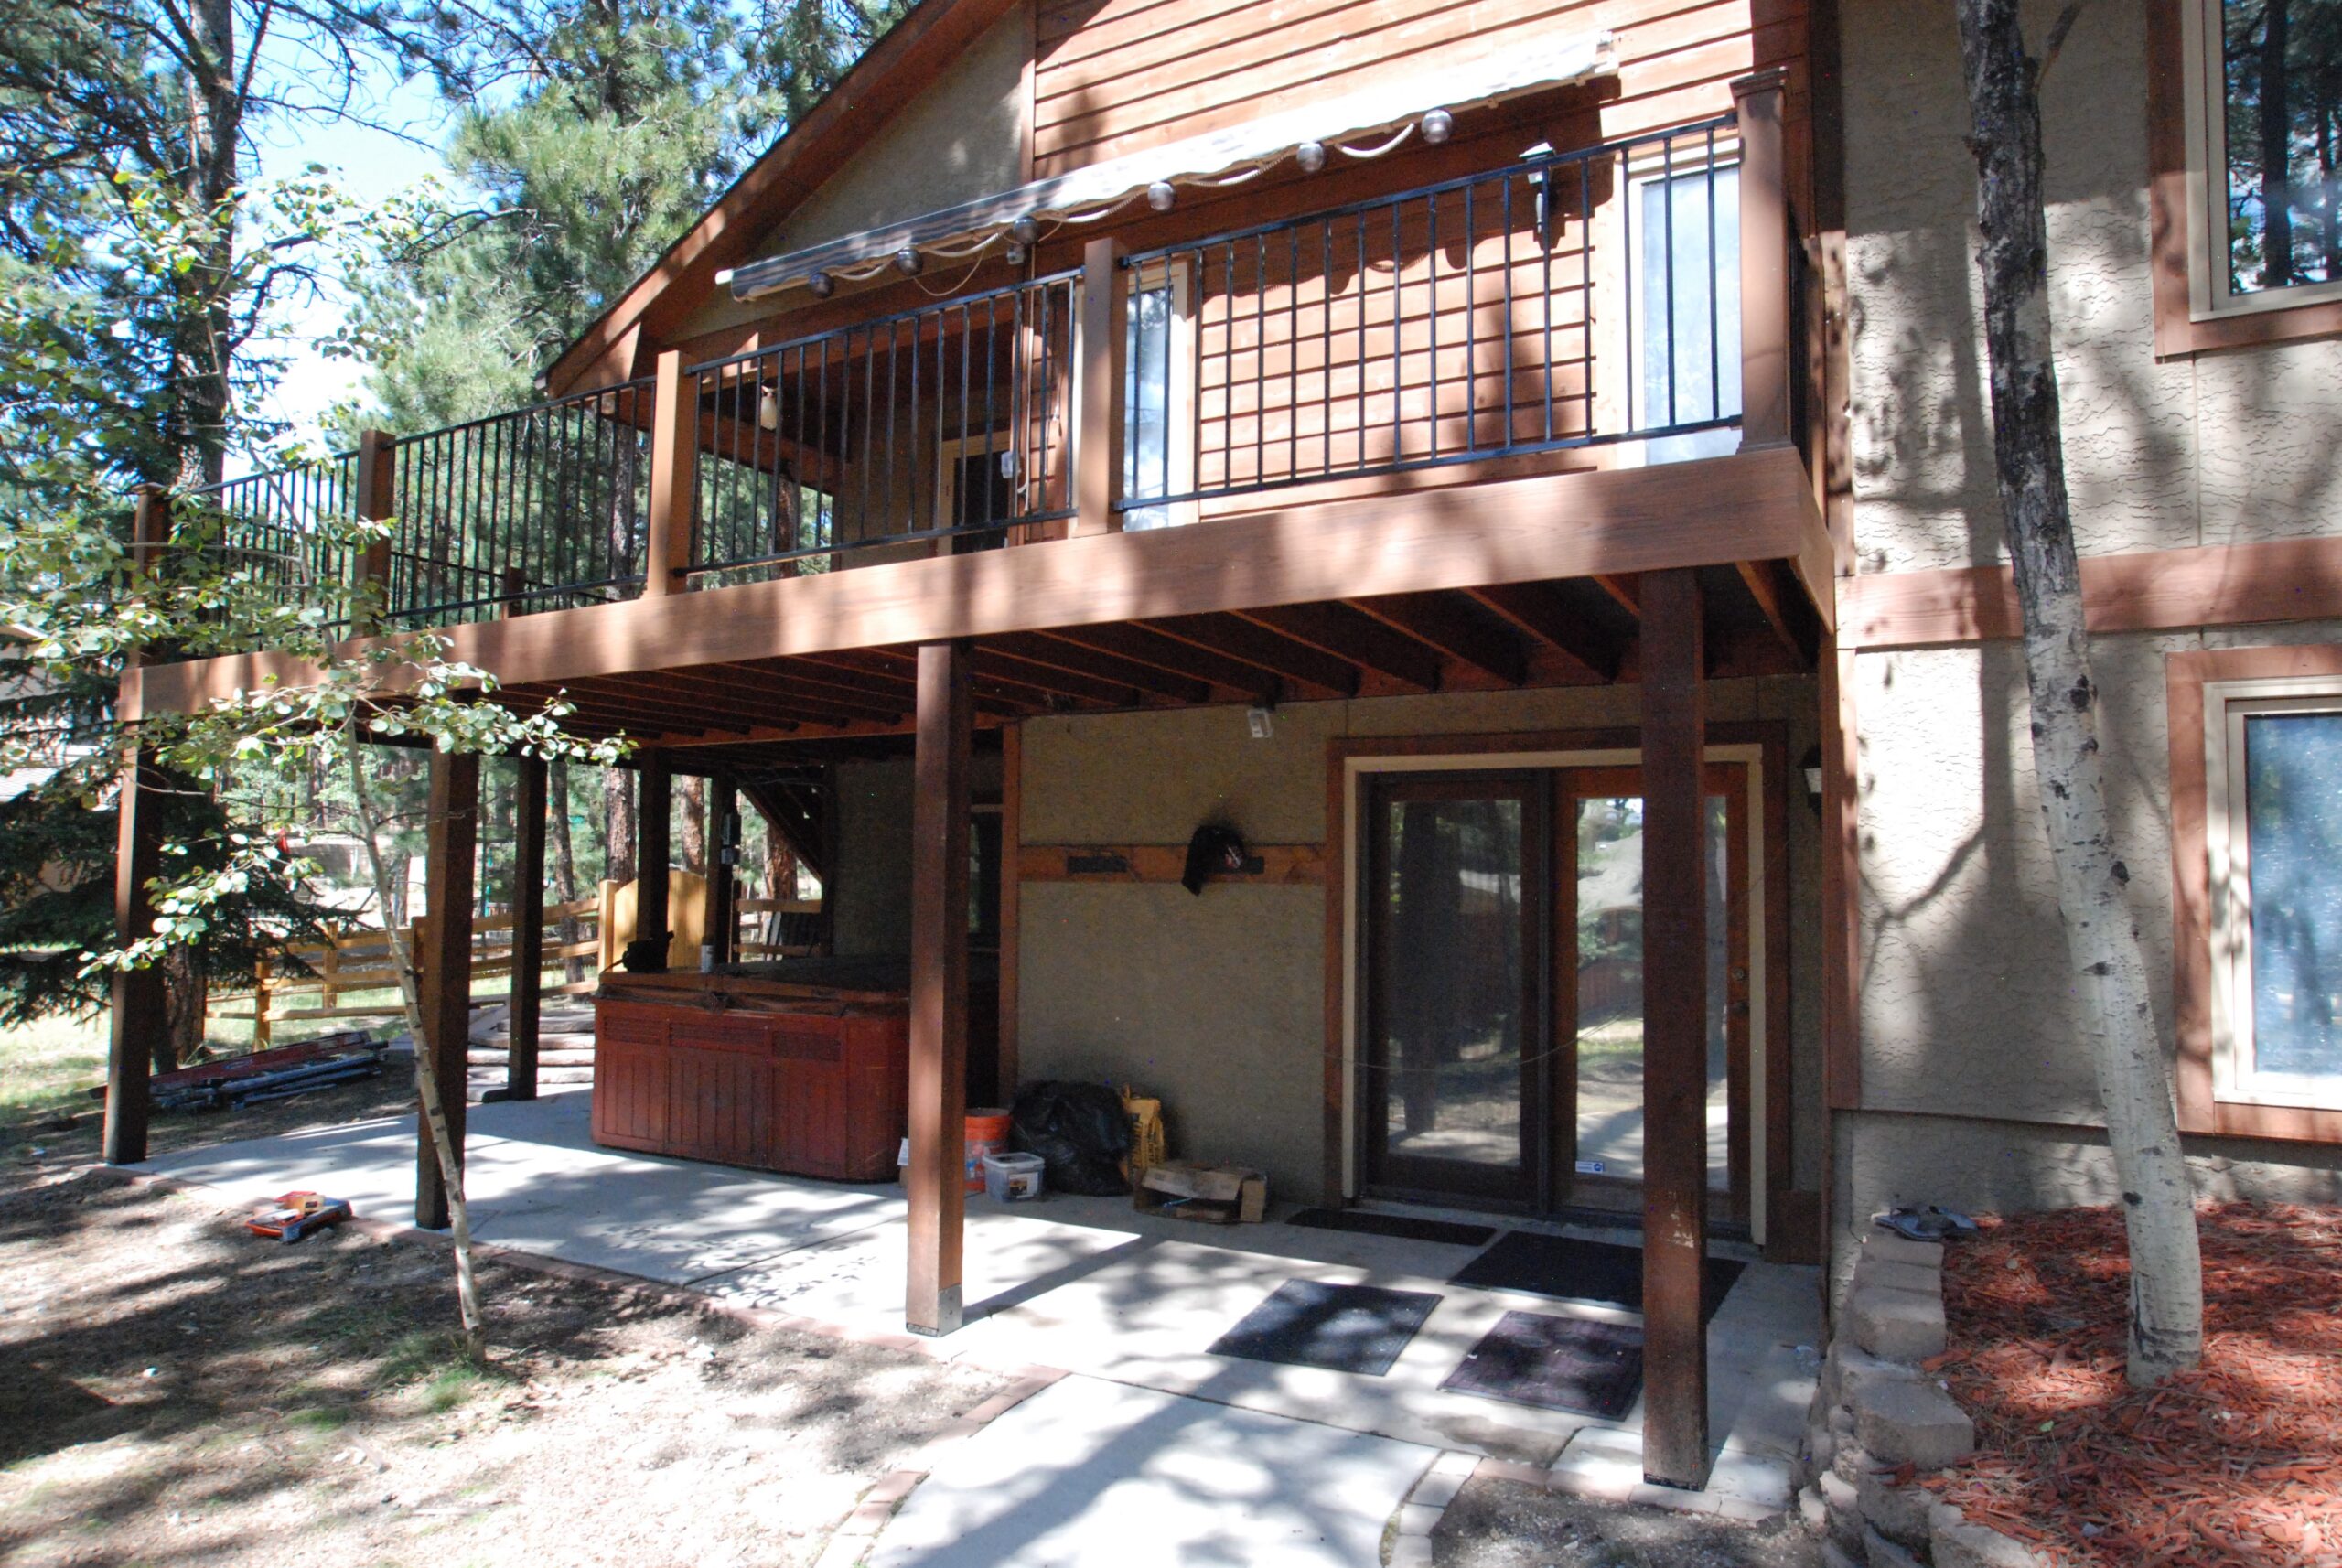
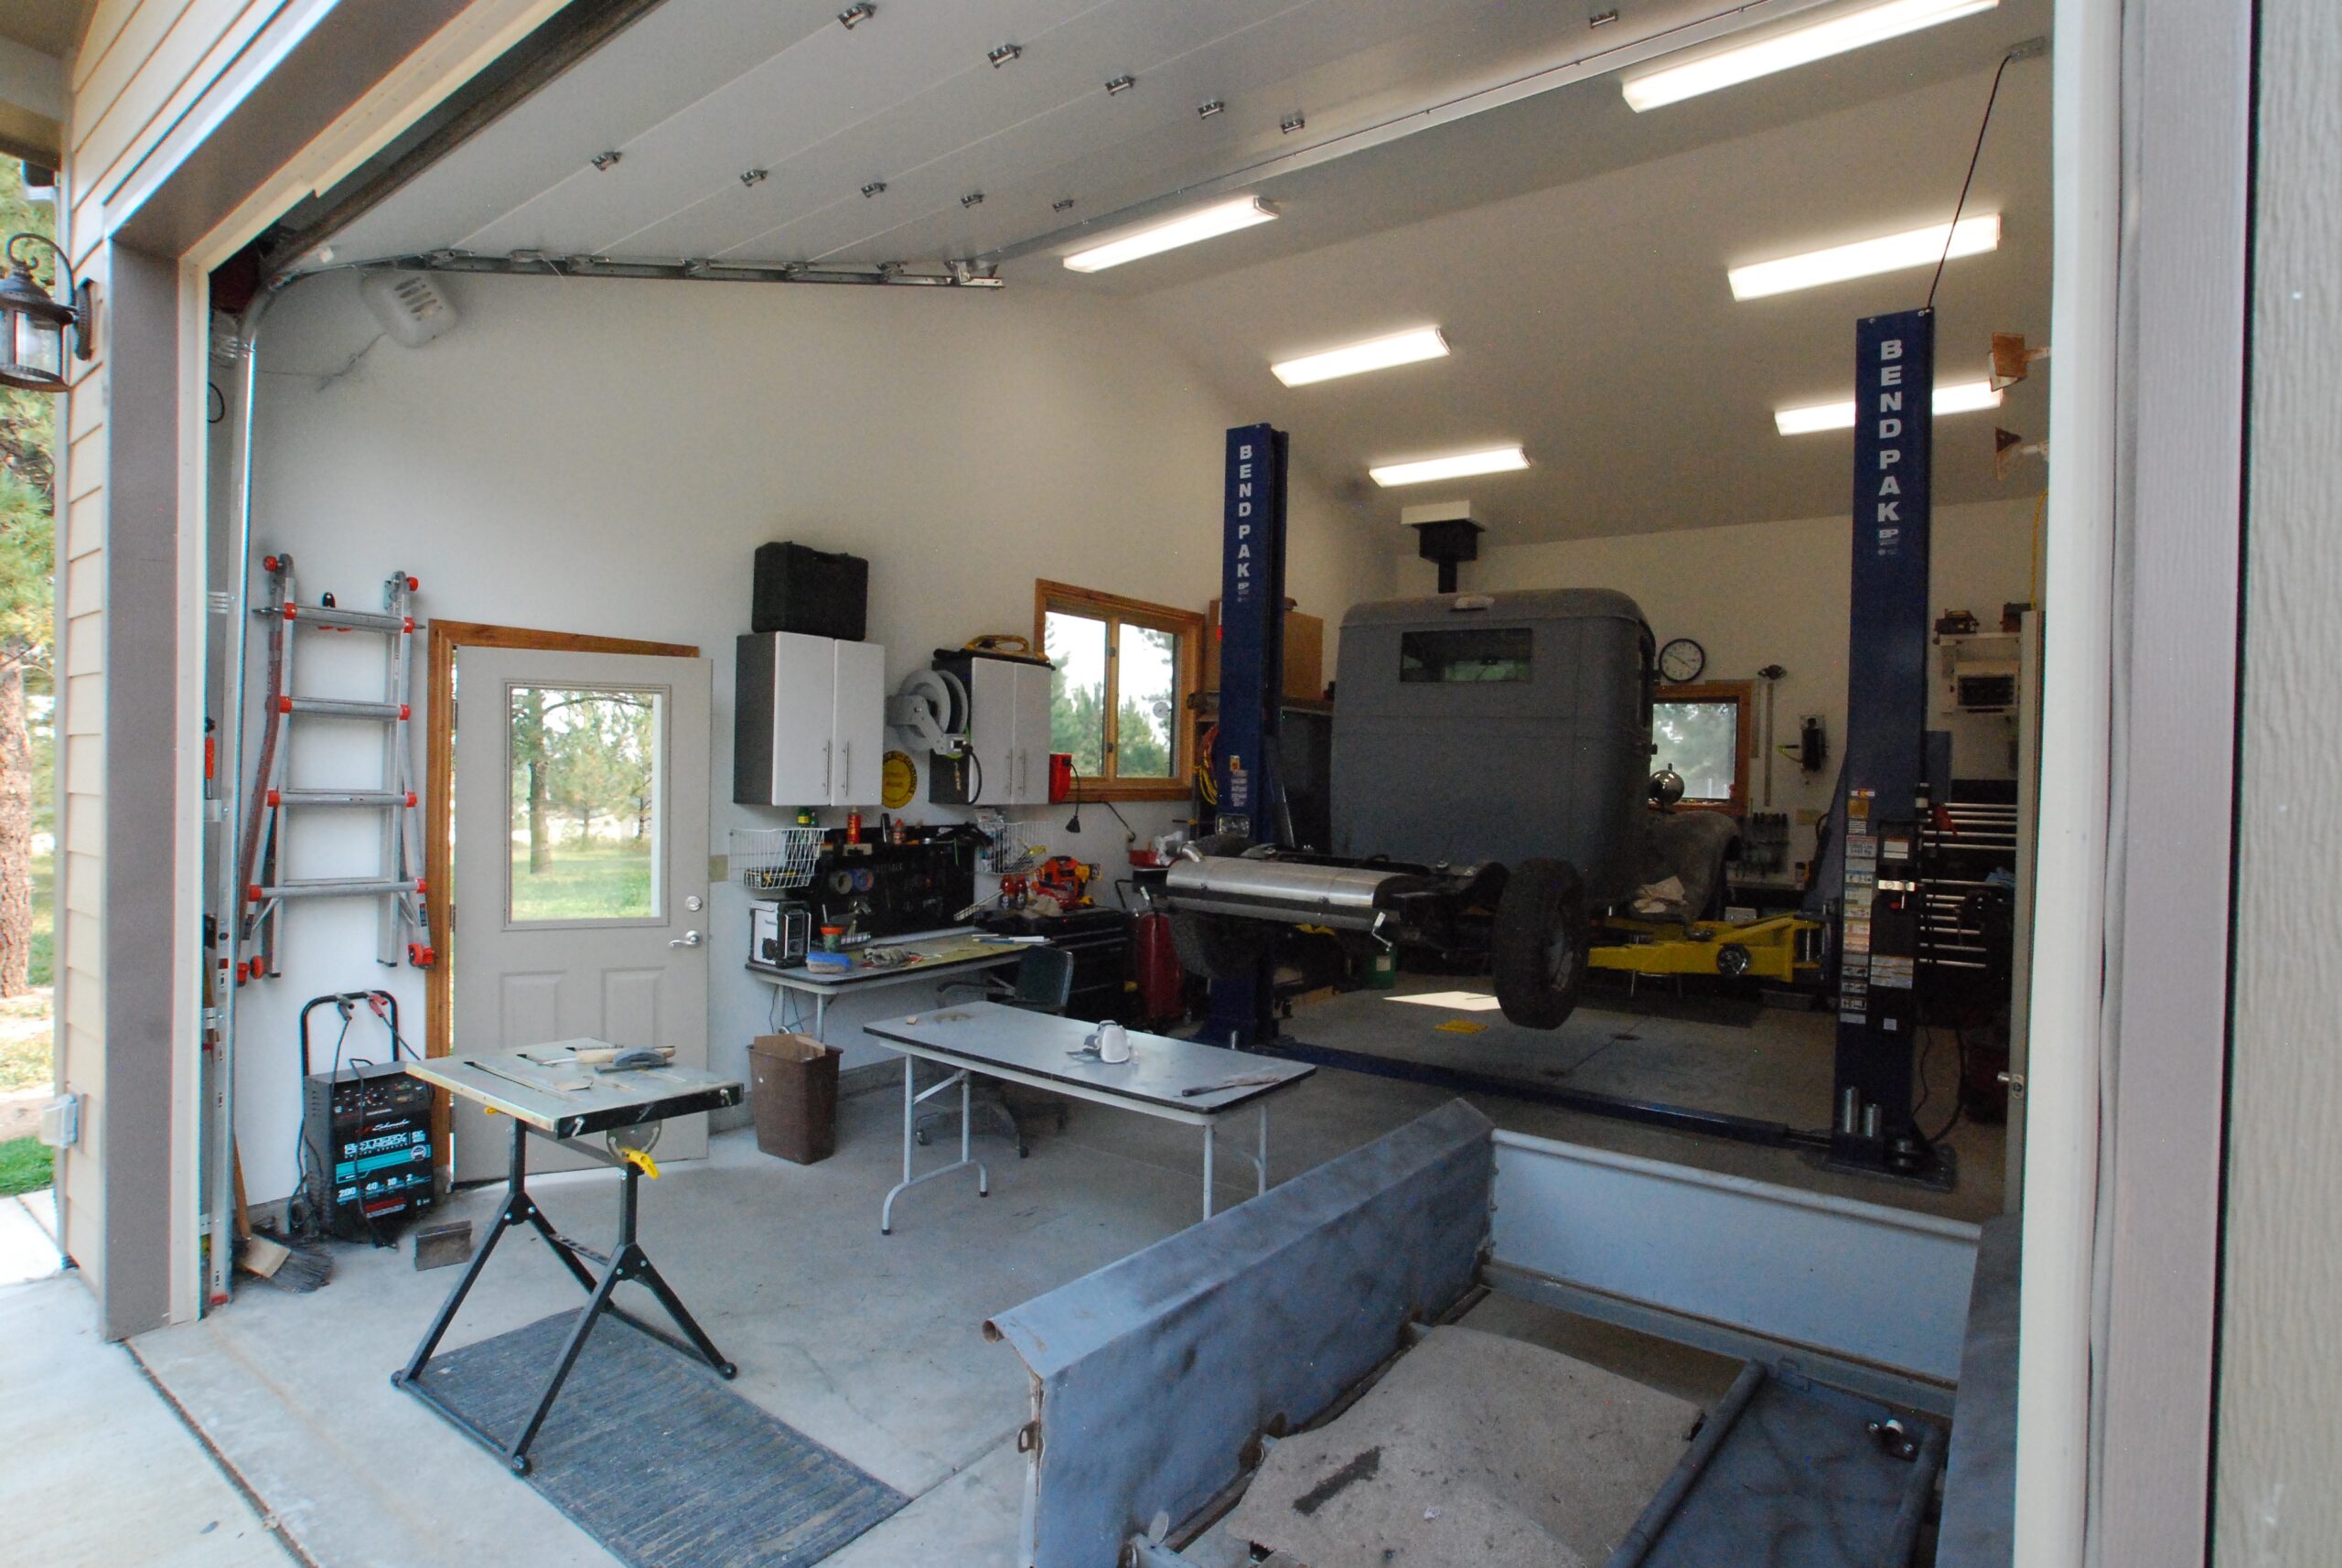
Whether you are considering a new custom home, expanding your current home, renovating an older property, or creating a more functional layout for your family, our project examples can help you see what is possible.